Glass chips can make your home or garden look beautiful. They are small pieces of glass that come in many colors and sizes. You can use them on floors, countertops, or even in the garden. Here’s a simple guide on how to install glass chips on different surfaces.
1. Choose the Right Glass Chips
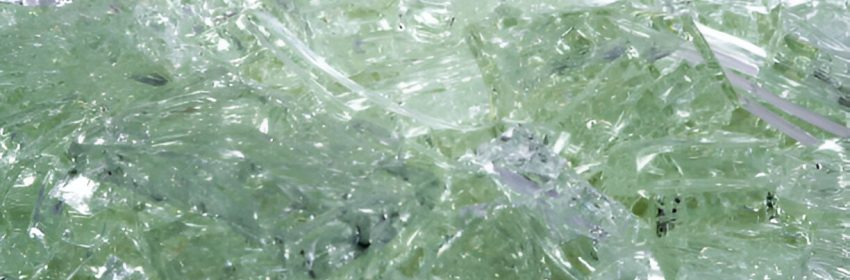
First, decide where you want to use the glass chips. For floors, use small and smooth chips to make walking safe. For gardens, bigger and colorful chips look great. Pick the color that matches your style.
2. Gather Your Tools and Materials
You will need:
- Glass chips
- Adhesive or glue (suitable for the surface)
- Trowel (for spreading the adhesive)
- Sealant (to protect the glass chips)
- Safety gloves and goggles
3. Prepare the Surface
Clean the surface where you want to install the glass chips. Make sure there is no dust, dirt, or oil. The surface should be dry and flat. This helps the adhesive stick better.
4. Apply Adhesive
Use a trowel to spread a thin layer of adhesive on the surface. Work on small areas at a time, so the adhesive doesn’t dry out.
5. Place the Glass Chips
Gently press the glass chips into the adhesive. Arrange them in your desired pattern. You can create designs or keep it random. Make sure all chips are at the same level.
6. Let It Dry
Let the adhesive dry for at least 24 hours. Avoid touching or walking on the area during this time.
7. Apply Sealant
Once the adhesive is dry, apply a sealant over the glass chips. This protects them from damage and makes cleaning easier.
8. Clean the Surface
After the sealant dries, clean the surface with a soft cloth. This will make the glass chips shiny and bright.
Tips for Different Surfaces
- Floors: Use non-slip sealant to make the surface safe to walk on.
- Countertops: Choose heat-resistant adhesive for kitchen countertops.
- Gardens: Place a layer of landscape fabric under the glass chips to prevent weeds.
Safety Tips
- Always wear gloves and goggles while working with glass chips.
- Handle the glass chips carefully to avoid cuts.
Final Thoughts
Installing glass chips is easy and fun. It can make any space look colorful and stylish. Just follow these steps, and you’ll have a beautiful surface in no time!
Would you like more help or tips on other projects? Let me know!
