Have you ever seen beautiful art pieces that look like they’re sparkling under the light? Many of these stunning creations use crushed glass chips combined with epoxy resin. This guide will introduce you to the exciting world of epoxy resin art and show you how to use crushed glass chips techniques and tips to make your projects shine!
What is Epoxy Resin?
Epoxy resin is a type of glue that, when mixed with a hardener, creates a strong and clear material. Artists use it to create a smooth, glossy finish on their projects. It can be poured into molds or used on surfaces to create beautiful art pieces that are both durable and eye-catching.
Why Use Crushed Glass Chips?
Crushed glass chips add a unique sparkle and color to your epoxy resin art. Here are a few reasons to use them:
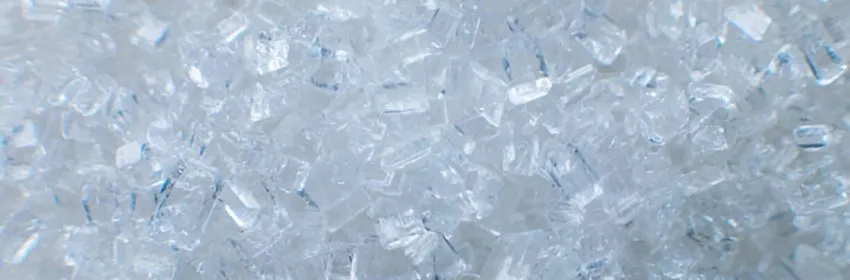
- Beautiful Colors: Crushed glass chips come in many colors, so you can mix and match to create stunning designs.
- Texture: They add interesting texture to your artwork, making it visually appealing.
- Light Reflection: The shiny surface of the glass chips catches the light, creating a dazzling effect.
Getting Started: What You’ll Need
Before you start your project, gather your materials:
- Epoxy Resin Kit: Make sure to read the instructions on the kit for mixing.
- Crushed Glass Chips: Choose the colors you want to work with.
- Molds or a Flat Surface: You can use silicone molds or a wooden board for your art.
- Mixing Cups and Sticks: For mixing the resin and hardener.
- Protective Gear: Wear gloves and goggles to keep safe.
Techniques for Using Crushed Glass Chips
Here are some simple techniques to help you incorporate crushed glass chips into your epoxy resin art:
- Mixing with Resin:
- After mixing your resin and hardener according to the instructions, you can add crushed glass chips directly into the resin mixture. Stir gently to avoid creating bubbles.
- Layering:
- Pour a layer of mixed resin into your mold or on your surface. Then sprinkle some crushed glass chips on top. Once it sets a bit, add another layer of resin on top to encase the chips. This creates depth and texture!
- Creating Designs:
- Use the crushed glass chips to create patterns or designs on your surface. You can arrange them in shapes, letters, or abstract designs before pouring the resin.
- Color Blending:
- If you want to create a gradient effect, mix different colors of crushed glass chips in separate cups of resin. Pour them in layers, blending them for a smooth transition of colors.
Tips for Success
- Read the Instructions: Always follow the instructions on your epoxy resin kit carefully for the best results.
- Work in a Well-Ventilated Area: Make sure you’re in a space with good airflow, as some fumes from the resin can be strong.
- Test First: If you’re new to epoxy art, practice on a small piece before starting your main project to get a feel for the materials.
Conclusion
Using crushed glass chips fun and creative way to make your projects shine! With their vibrant colors and reflective surfaces, they can transform ordinary art into something spectacular. So gather your materials, try out the techniques, and let your imagination run wild. Happy crafting!
